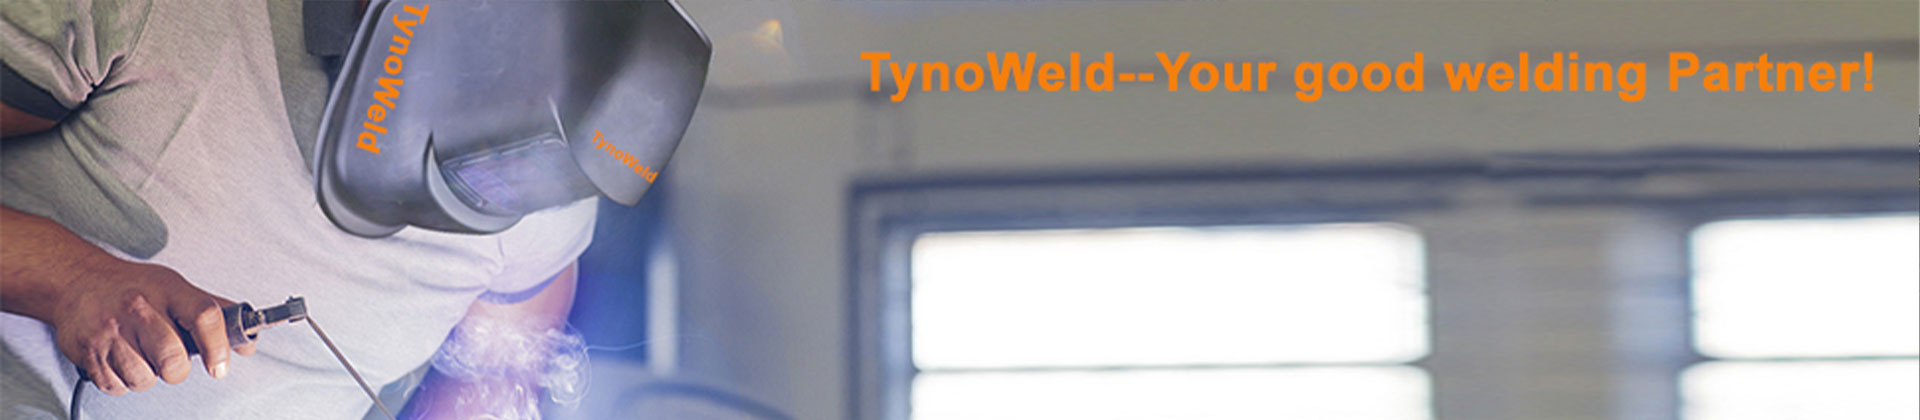
Selecting the Ideal Headgear for Your Welding Needs
When it comes to welding safety, your choice of headgear — from the shell and suspension system to the lens and electronics — can make a decisive difference. A well-designed welding helmet headgear system ensures comfort, reliable protection, and optimal performance across applications. At TynoWeld, we understand that every welder’s environment, process, and preference differ. In this article, we walk through how to select a headgear configuration that suits your welding tasks, and highlight how our auto darkening welding helmets and accessories deliver on those needs.
Key Takeaways
-
The right welding helmet headgear balances security, adjustability, and weight to minimize fatigue.
-
Auto darkening welding helmets must be matched to your welding process, arc brightness, and ambient conditions.
-
Lens specifications (shade range, reaction speed, optical clarity) are as critical as the shell or headgear system.
-
Fit, stability, and comfort determine whether the helmet stays secure and safe during extended work.
-
Periodic inspection and adjustment of headgear parts (straps, ratchets, padding) help maintain protective performance.
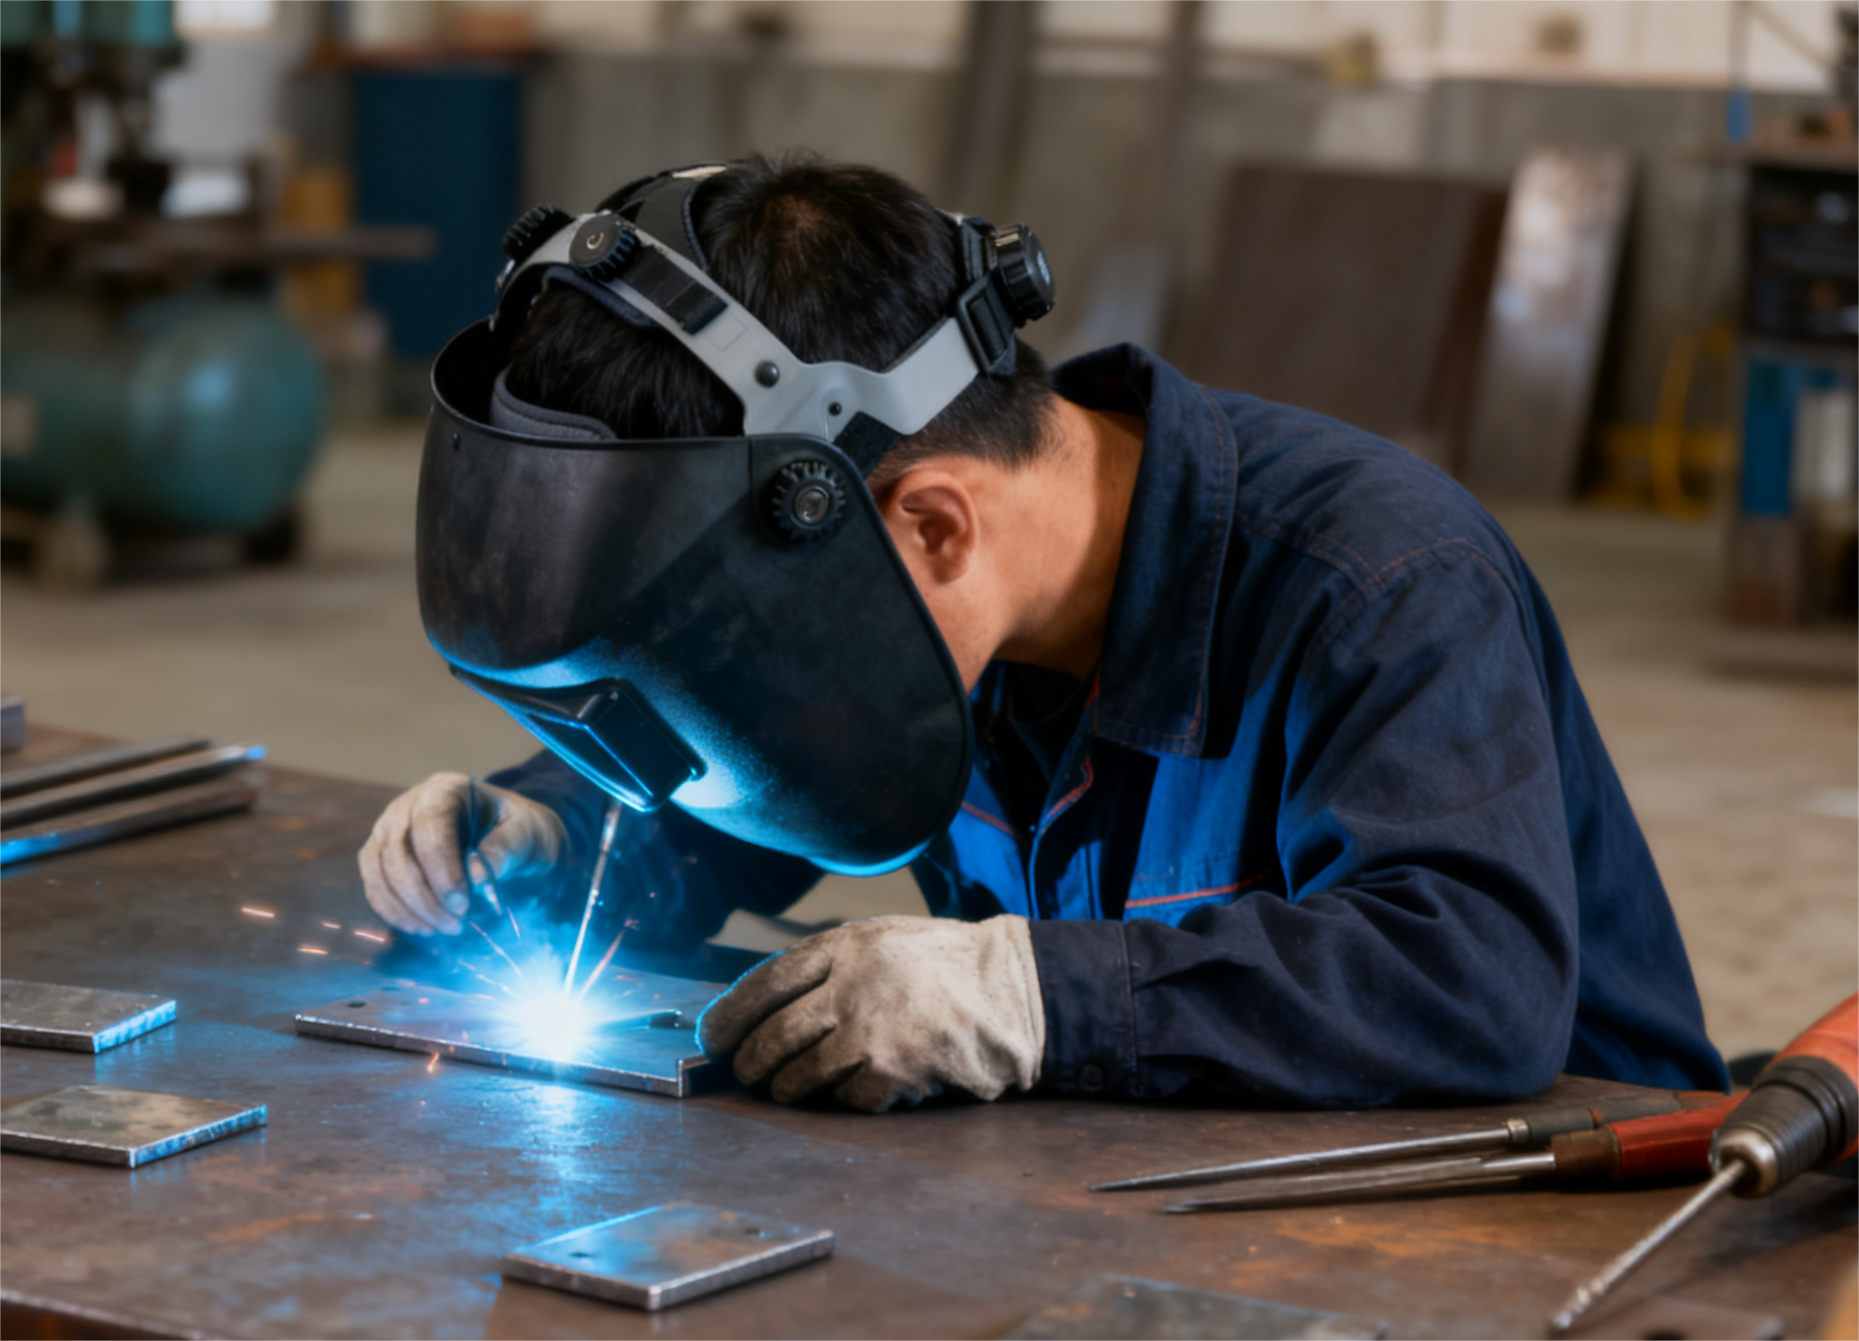
Why Headgear Matters: Beyond the Lens
Often, welders focus on lens features (shade range, reaction time, optical quality), overlooking the headgear system that holds that lens in place. But even the best lens is worthless if your helmet shifts mid-weld, leaks light, or causes neck strain.
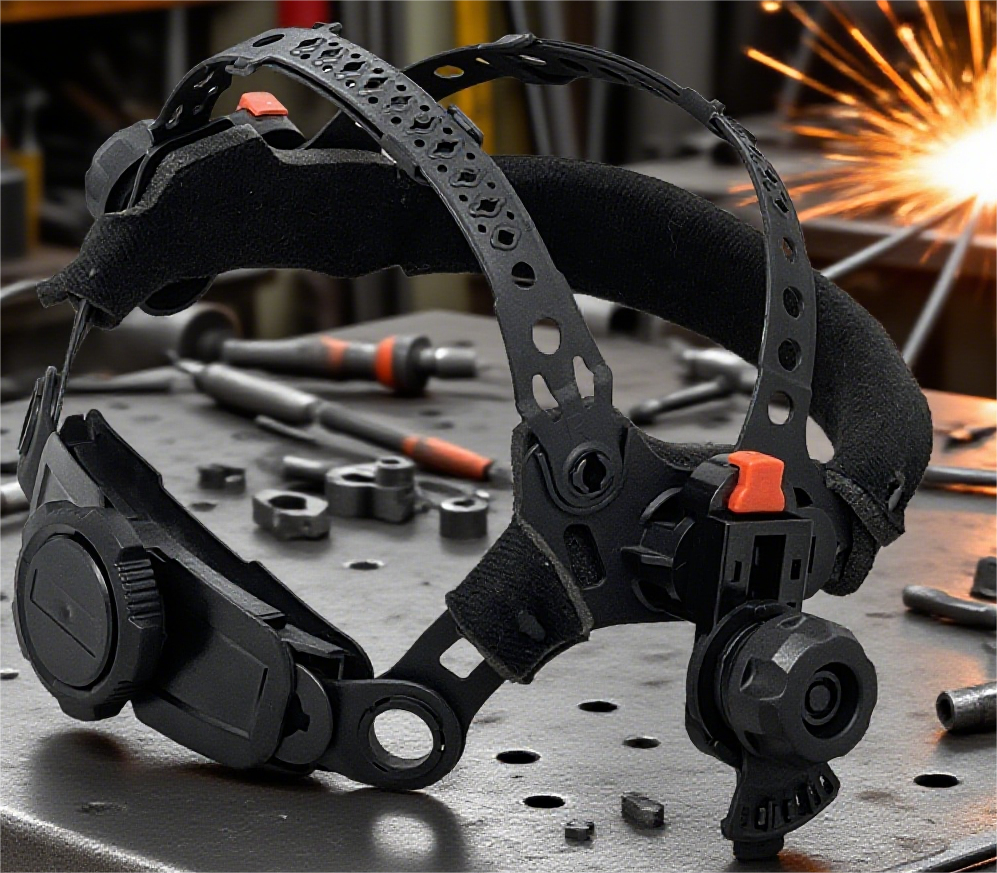
-
Distributes weight evenly across the skull (not just pushing on the forehead).
-
Permits micro-adjustments via ratchet knobs, crown straps, and tilt pivots.
-
Provides padding so contact points don’t press painfully against your head.
-
Remains stable during head movement or heavy work.
-
Allows switching between welding and grinding modes without removing the helmet.
At TynoWeld, our helmet models (such as the TN series) adopt multi-band suspensions, ratchet adjusters, and ergonomic pads to deliver long-wear comfort and stable positioning.
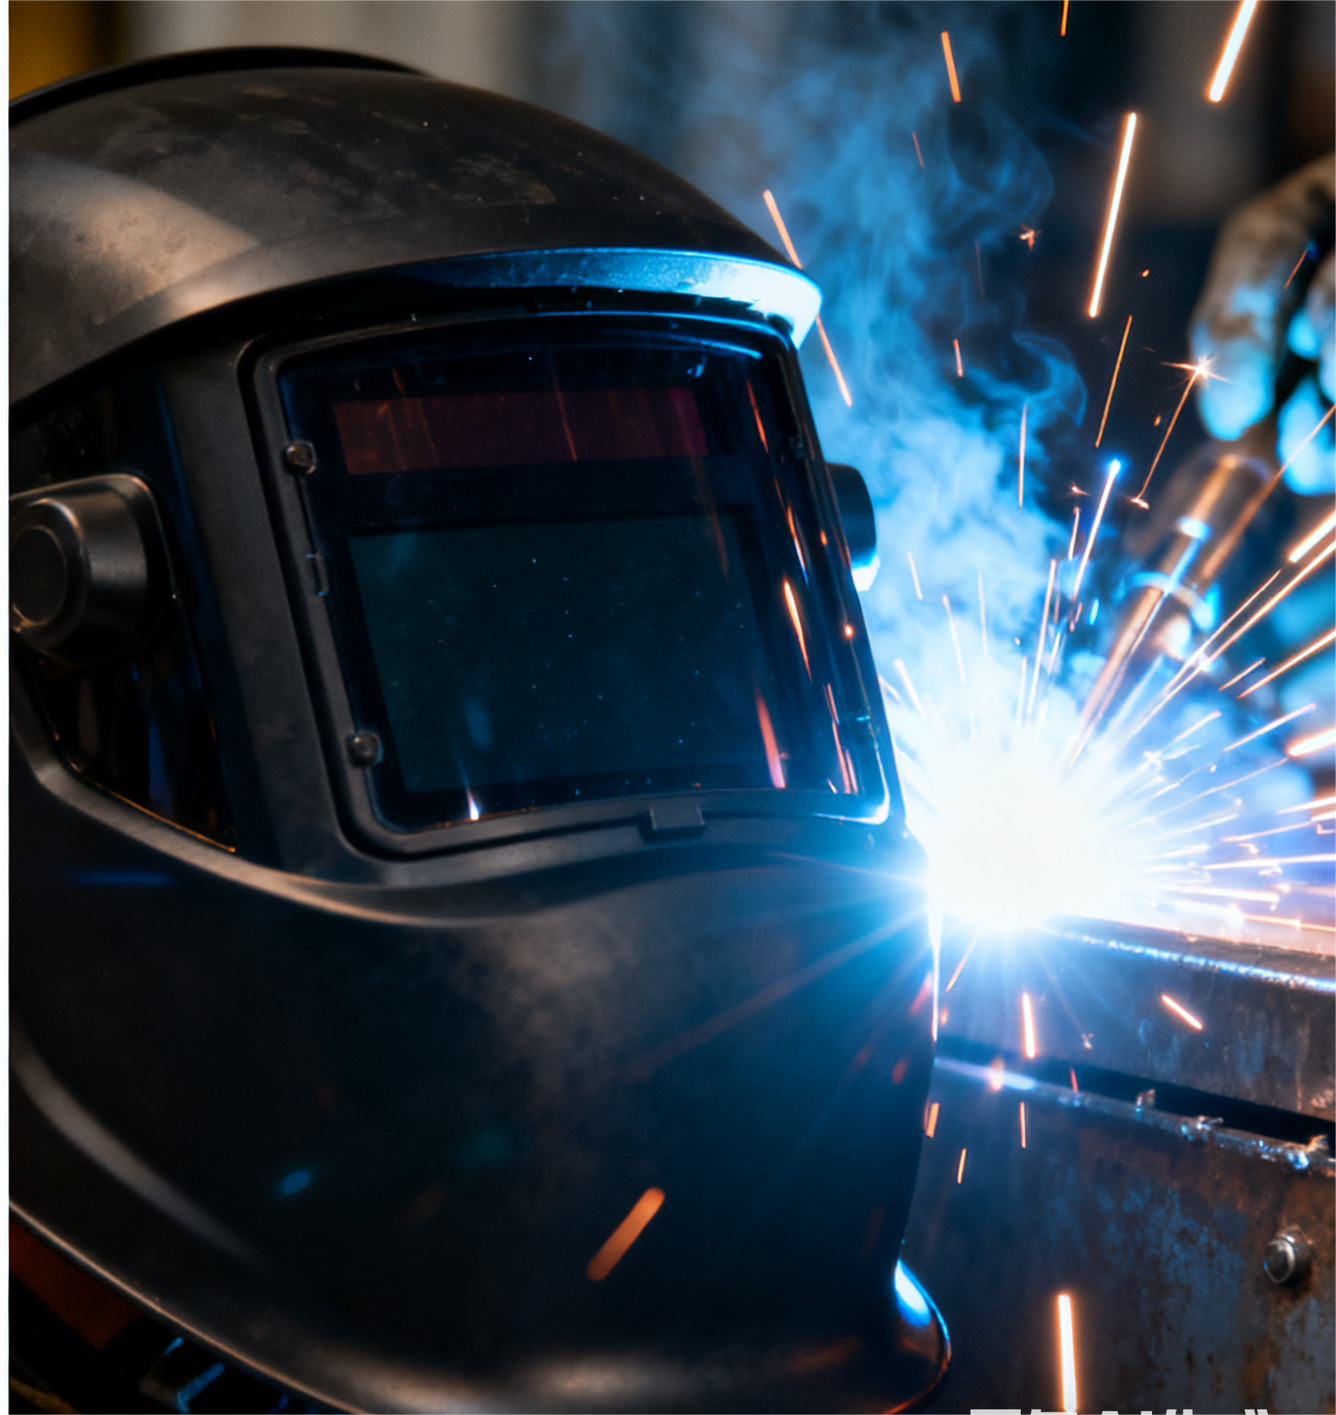
Matching Your Welding Process to Headgear & Helmet Features
To choose the ideal headgear and helmet, start by considering your welding environment and process:
| Welding Scenario | Key Requirements | Headgear / Helmet Features to Prioritize |
|---|---|---|
| Low-current TIG, precise work | Sensitive arc detection, fast transitions | High sensitivity mode, rapid reaction speed, stable headgear |
| Heavy MIG/SMAW, bright arc | Durability, solar assist, robust shell | Auto darkening filter with wide dynamic range, sturdy pivot mount |
| Grinding / cut-arc intermittency | Quick mode switching | Reliable Weld/Grind toggles, headgear that handles repeated motion |
| Bright ambient lighting or outdoor work | Light interference resistance | Multi-sensor designs, X-Mode or similar ambient-light rejection systems |
Your choice of headgear and helmet should ensure that transitions between arc and no-arc states are seamless, and that the helmet stays secure under vibration or movement.
Common Headgear & Helmet Selection Pitfalls — and How to Avoid Them
Here are frequent issues welders face when selecting or using headgear, and recommended mitigations:
-
Helmet slips or shifts mid-weld
Cause: Loose ratchet knob, worn padding, or unstable pivot geometry
Solution: Tighten adjustment knobs, replace padding, and choose helmets with pivot angles that secure downward force. -
Forehead pain or pressure marks
Cause: Thin or hard padding, uneven weight distribution
Solution: Use thicker or gel-based padding; ensure crown strap supports load. -
Difficulty switching modes (weld/grind)
Cause: Knobs or switches poorly accessible or stiff
Solution: Select helmet designs with ergonomic, glove-friendly toggles; ensure smooth detents. -
Lens movement or play
Cause: Poorly toleranced lens carrier or loose screws
Solution: Check and tighten lens frame screws; choose helmets with precise manufacturing tolerances.
By anticipating these problems and selecting a thoughtfully engineered helmet and headgear system, you avoid common frustrations and maintain safe, consistent performance.
Step-by-Step Selection Guide
Here’s a practical approach to narrowing down your ideal headgear + helmet combination:
-
List your welding types & current ranges
(E.g. TIG at 10 A, MIG at 200 A, occasional plasma cut) -
Decide on lens performance specs
(Reaction time < 1/25,000 s, shade 9–13, TrueColor or equivalent optics) -
Consider ambient conditions
Are you outdoors, in bright light, or near other arcs? -
Evaluate headgear adjustability
Check how many axes of adjustment (crown, fore/aft, tilt) and ease of change -
Test balance and comfort
With the helmet mounted, simulate head movement—check if it stays aligned -
Account for accessories & upgrades
(Spare pads, sweatbands, lens covers, helmet-respirator compatibility)
Once you have a shortlist, test in your workshop and measure performance across repeated arcs and long shifts.
TynoWeld’s Advantages in Welding Helmet & Headgear Design
At TynoWeld, we blend over a decade’s expertise in head protection and optical technology to offer solutions that meet the diverse demands of welders:
-
Precision-engineered headgear systems with multi-band suspension, ratchet control, and ergonomic padding.
-
Advanced auto darkening filters with fast response times, wide dynamic range, and multi-sensor architecture to resist ambient interference.
-
Compliance and certifications (CE, UV/IR protection) to give customers confidence in safety performance.
-
Modular design allowing pads, sweatbands, and components to be replaced or upgraded easily, prolonging life cycle.
-
Helmet-respirator integration on select models, accommodating welders who require fume protection without compromising headgear stability.
By combining optical excellence with headgear comfort and adjustability, TynoWeld ensures you can trust both your vision and your support system — from mild steel MIG to delicate TIG or high-intensity plasma cutting.
FAQ: Selecting & Using Welding Helmet Headgear
Q: How often should I adjust my headgear?
A: Inspect and adjust before each shift; recheck during long jobs. Pads compress over time, so periodic tightening is normal.
Q: Can I use the same headgear across multiple helmet models?
A: It depends on compatibility. TynoWeld designs many of its helmets with interchangeable headgear modules to minimize redundant costs.
Q: What shade should I aim for?
A: Generally, shade 10–13 works for MIG/SMAW; shade 9–13 for TIG. Match shade to current and arc brightness while ensuring good visibility.
Q: Will a heavier helmet ruin comfort?
A: Weight matters, but balance and good headgear are more important. One well-balanced heavier helmet can be more comfortable than a light one with poor suspension.
Q: When should I replace the headgear or helmet?
A: Replace when you see cracks, persistent lens or electronic failures, or worn-out padding and slipping. Don’t force performance from compromised parts.
Final Thoughts
Choosing the ideal headgear for your welding needs is more than selecting a lens or shell — it’s about the system that supports and positions your optical protection under real-world stress. A well-engineered headgear lets you focus on the weld, not your helmet.
At TynoWeld, we take that responsibility seriously. Each auto darkening welding helmet reflects careful design, rigorous testing, and modular flexibility so that your headgear evolves with your work. Whether you’re a professional fabricator, pipeline welder, or hobbyist, pairing the right headgear with the right lens makes all the difference — in safety, comfort, and performance.
Reach out to our team for personalized advice or demo units. With the right helm, you’ll see more clearly, weld more confidently, and leave fatigue behind.
Post time: Oct-15-2025