In the world of metal fabrication, welding is an essential skill, but it’s not without its risks—especially when it comes to eye safety. The welding helmet is a welder’s first line of defense against harmful radiation, flying sparks, and debris. In recent years, the auto darkening filter (ADF) has become a game-changer for welders, offering both protection and convenience. But what if you want a helmet that perfectly fits your needs and style? This article provides a comprehensive, step-by-step guide on how to make a custom welding helmet, focusing on the importance of auto darkening filters and ensuring your safety with credible, fact-based advice.
Why Eye Protection Matters in Welding
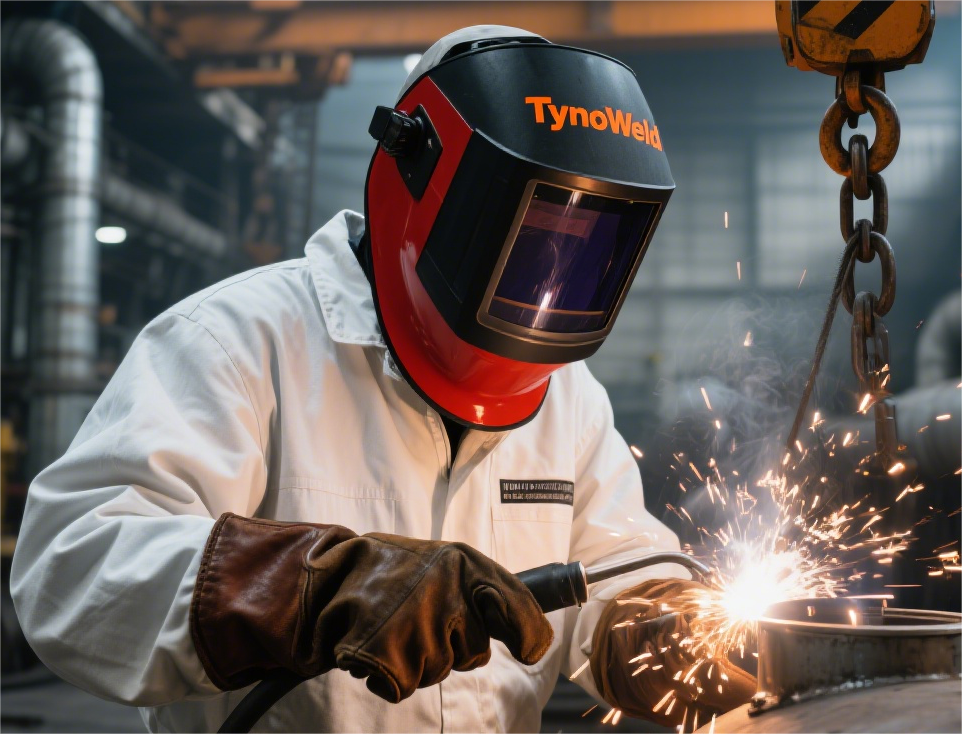
Before diving into the DIY process, it’s crucial to understand why proper eye protection is non-negotiable in welding. When welding, the intense light and ultraviolet (UV) radiation produced can cause a condition known as “arc eye” or welder’s flash—a painful inflammation of the cornea. According to the Occupational Safety and Health Administration (OSHA), welders are also exposed to infrared (IR) radiation and flying debris, which can result in permanent eye damage without adequate protection.
What Makes a Good Welding Helmet?
The modern welding helmet is a blend of innovative materials and intelligent engineering. According to Tynoweld, the key features for a high-quality helmet include:
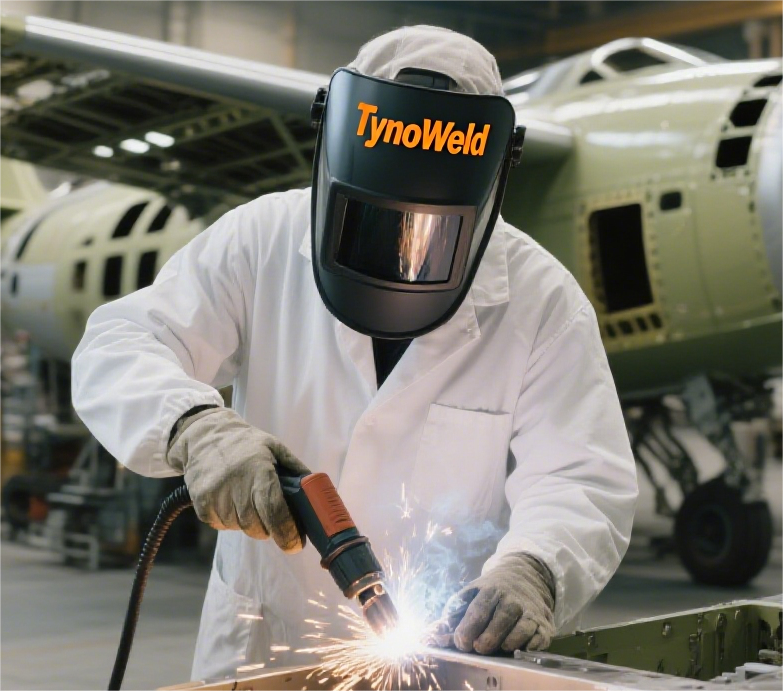
- Full face coverage: Protects not only the eyes but also the skin from UV and IR radiation.
- Comfortable fit: Allows for extended use without fatigue.
- Durable materials: Withstands high temperatures and impacts.
- Reliable lens: Offers clear visibility and effective protection from light and radiation.
The Innovation: Auto Darkening Filter
Traditional welding helmets use passive dark-tinted lenses. However, the introduction of the auto darkening filter has revolutionized the industry. An ADF automatically adjusts its shade in milliseconds when it detects the welding arc, protecting the welder’s eyes while allowing for a clear view before and after welding. This technology reduces the need to constantly lift and lower the helmet, improving both safety and efficiency.
Step-by-Step Guide: How to Make a Custom Welding Helmet
1. Planning Your 1. Planning Your Helmet Design
Start by considering your specific needs:
- Type of welding: MIG, TIG, stick, or plasma cutting may require different shade levels.
- Comfort: Do you need extra padding or adjustable straps?
- Style: Would you like to personalize the color, graphics, or shape?
2. Selecting Materials
Your custom welding helmet should be constructed from:
- High-impact polycarbonate or fiberglass: These materials offer excellent protection and are lightweight.
- Fire-resistant padding: For extra comfort and safety.
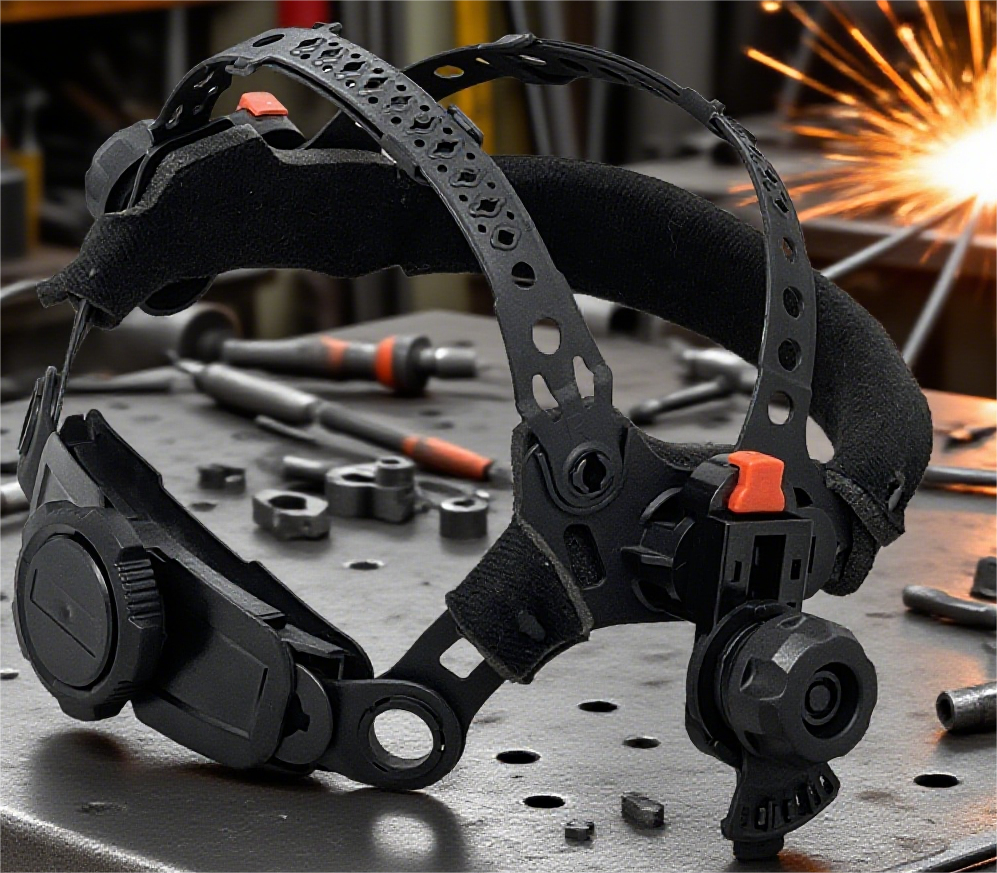
- Adjustable headgear: Ensures a snug, secure fit.
3. Choosing the Right Auto Darkening Filter
Selecting the right ADF is critical. Here’s what to look for:
- Variable shade range (usually 9–13): Suitable for most welding processes.
- Switching speed: Faster response times (1/20,000 second or better) are safer for your eyes.
- UV/IR protection: Ensure the filter provides consistent protection, even when not activated.
- Power source: Most ADFs use solar cells combined with replaceable lithium batteries.
- Sensitivity and delay controls: Allow you to adjust how quickly the filter reacts and returns to clear.
Fact Box: How Auto Darkening Lenses Protect Your Eyes
Auto darkening filters use specialized liquid crystal displays (LCDs) sandwiched between protective glass layers. When sensors detect the bright arc, the LCD layers polarize, blocking harmful light and radiation instantly. According to industry experts, the UV/IR protection is always active, whether the lens is darkened or not, providing constant safety for welders.
4. Building the Helmet Shell
- Mold the shell: Use polycarbonate sheets or fiberglass, shaped and cut to cover the entire face and neck.
- Reinforce edges: Add extra layers or padding at stress points.
- Drill mounting holes: For attaching the headgear and ADF.
5. Installing the Auto Darkening Filter
- Secure the ADF: Fit the filter into the viewing window, making sure it’s sealed against dust and sparks.
- Wire the power source: If the ADF uses batteries, install them according to the manufacturer’s instructions.
- Test the sensors: Ensure the lens responds promptly to a flash of light.
6. Personalizing Your Helmet
- Paint or wrap: Use heat-resistant paint or vinyl wraps for custom designs.
- Add accessories: Consider installing a sweatband, magnifying lens, or ventilation system.
7. Safety Testing
Before using your custom helmet:
- Check for light leaks: Hold the helmet up to a bright light to ensure there are no gaps.
- Test the ADF: Strike a test arc and verify the lens darkens instantly.
- Fit test: Wear the helmet for an extended period to ensure comfort and stability.
Real-World Insights: The Importance of Quality
As highlighted in industry reports, the rise in popularity of auto darkening filters is based on their proven effectiveness in reducing eye strain, increasing productivity, and improving safety outcomes. Welders using ADF-equipped helmets report fewer incidents of eye fatigue and injury, underscoring the importance of not cutting corners on quality or safety features.
Conclusion
Constructing your own custom welding helmet can be a rewarding project, offering both personalized comfort and style. However, the most critical aspect is the integration of a reliable auto darkening filter. By following these steps and prioritizing safety, you can create a helmet that not only reflects your individuality but also provides top-tier protection against the hazards of welding. Remember, your eyes are irreplaceable—invest in the best protection, and weld with confidence.
Post time: Aug-06-2025